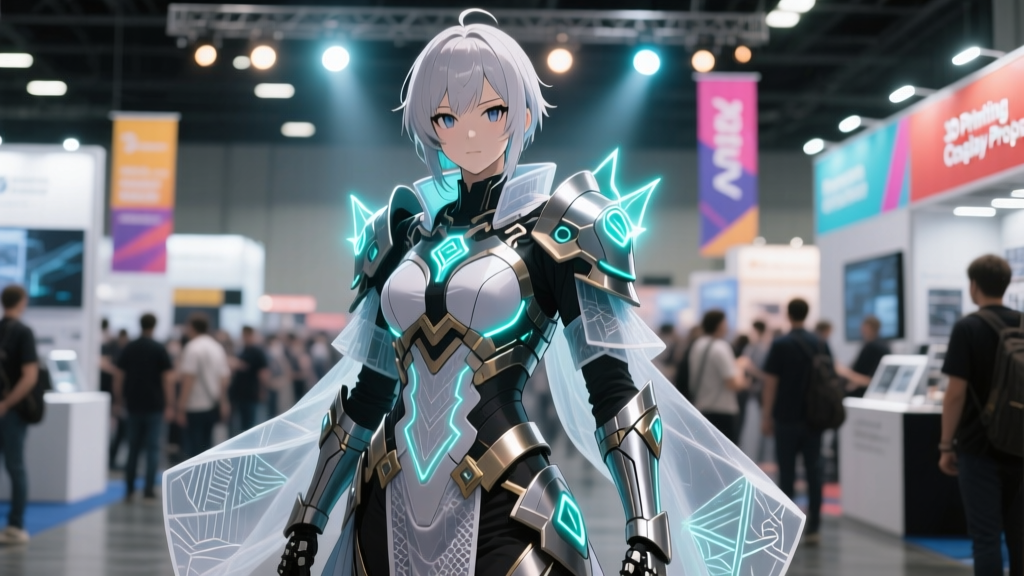
3D Printing for Cosplay: From Digital Model to Convention-Ready Prop
Let’s be real—there’s a special kind of magic in walking into a convention hall and hearing that collective inhale when someone rounds the corner in fully articulated, screen-accurate armor that actually moves. Not foam-rubber approximation. Not EVA puzzle pieces duct-taped into submission. I’m talking about armor with hinge joints that click, pauldrons that flare just right, and a prop sword that weighs exactly as much as it should—because it was designed in Blender, sliced in PrusaSlicer, and printed on a machine that knows your patience better than your therapist.
3D printing isn’t “the future” of cosplay anymore. It’s the now. And if you’ve been eyeing those jaw-dropping builds on r/cosplay or Instagram but assumed it required a PhD in CAD and a $5,000 printer—breathe. Let’s cut through the jargon and get you from zero to con-floor-ready.
Start Where You Are: Software That Doesn’t Make You Scream
You don’t need Maya. You really don’t.
For beginners, Blender is non-negotiable—and free. Yes, it has a learning curve, but its sculpt mode lets you feel your prop like clay. Tutorials by Grant Abbitt or CG Geek will have you extruding a Mandalorian vambrace in under two hours. Pair it with Meshmixer (also free) for quick hollowing, support generation, and fixing watertightness errors—the silent killers of first prints.
If you’re building modular armor (think: MCU Iron Man or Demon Slayer Nichirin blades), use Tinkercad for rapid prototyping. Drag, drop, boolean, export. Done. It’s the LEGO set of 3D modeling—no pressure, no polygons, just results.
And yes—download STLs. Sites like Thingiverse, Cults3D, and especially MyMiniFactory host thousands of fan-made, con-tested models. But here’s the pro tip: never print raw. Always open the file in Meshmixer. Rotate it so overhangs are minimized. Hollow it to 1.6mm wall thickness (standard for PLA). Add drainage holes—even if it’s just a tiny 2mm circle on the underside of a helmet cheek guard. Trust me: uncured resin pooling inside a sealed helmet is a grief no amount of sanding can fix.
Printer Pick: Not All Machines Are Created Equal (and That’s Okay)
Your budget dictates your entry point—but not your outcome.
- Under $300? The Ender 3 V3 SE is still king. Silent stepper drivers, auto-bed leveling, and community support so vast you’ll find a troubleshooting video for why your filament smells like burnt toast. It won’t print 25-micron anime eyelashes—but it will nail 90% of armor plates, belt buckles, and weapon hilts.
- $400–$800? Step up to the Prusa MK4 or Bambu Lab P1S. These aren’t just printers—they’re cosplay partners. The P1S’s multi-color AMS system lets you print a red-and-gold Zoro sash in one go, no painting needed. The MK4’s removable magnetic PEI sheet means your finished chestplate lifts off clean—no chipping, no swearing into the void.
- Resin? Yes—if you’re serious about detail. A Phrozen Sonic Mini 4K ($350) captures every rivet on a Cyberpunk 2077 jacket zipper or the subtle grain on a Star Wars blaster grip. But—warning—resin demands ventilation, nitrile gloves, and post-curing. Don’t skip UV curing. Under-cured resin stays tacky, attracts dust like a magnet, and peels paint off faster than a bad relationship.
Pro tip: Print everything at 0.16mm layer height. It’s the sweet spot—fast enough for convention deadlines, detailed enough for camera close-ups, and forgiving enough for beginner calibration.
Finishing Is Where Magic Happens (and Where Most People Quit)
Here’s the unspoken truth: 3D printing is 30% printing, 70% finishing.
Start with dry sanding: 120 → 220 → 400 grit. No water. Water swells PLA and creates micro-scratches that drink primer like a sponge. Use a sanding block—not your fingers—for flat surfaces. For curves? Wrap sandpaper around a rubber eraser or dowel.
Then—primer. Not spray paint. Primer. Rust-Oleum Painter’s Touch Ultra Cover in white or grey. Light coats. Let dry fully (not “feels dry”—fully). Then sand again with 600 grit. Repeat until the surface reflects light like a calm pond. This isn’t optional. It’s the difference between “cool prop” and “wait—is that real metal?”
Fill gaps? Use XTC-3D epoxy coating—not Bondo. It self-levels, sands like butter, and adds structural integrity. One coat on the backside of a shoulder guard makes it survive three con days of hugs, photo ops, and accidental elbow bumps.
Seam lines? Heat gun + X-Acto blade. Gently warm the seam (don’t melt—warm), then scrape with a fresh blade at a 15-degree angle. You’ll see the line vanish like it never existed.
Paint Like You Mean It (Because You Do)
Skip the craft store acrylics. Go straight to Vallejo Game Color or Citadel Contrast Paints. Why? They’re formulated for texture—not just coverage. Citadel’s Wazdakka Red will pool in engraved lines on a Warhammer 40k power fist automatically. Vallejo’s Metallic Copper gives instant depth to steampunk gears without ten layers of dry-brushing.
Use an airbrush? Fantastic. Don’t have one? Get a Badger 150 ($85) and practice on scrap prints first. Thin your paints with distilled water or Vallejo Airbrush Thinner—not rubbing alcohol (it eats plastic).
And finish with Testors Dullcote. Not gloss. Not satin. Dullcote. It kills plastic shine, evens out sheen across PLA/resin/metallics, and protects against sweat, sunscreen, and con-floor friction. One coat. Let dry 24 hours. Then—then—you strap it on.
The Last, Crucial Step: Integration
A perfect 3D-printed pauldron means nothing if it flops around like a startled seagull.
Mount with neodymium magnets (6mm x 3mm, N52 grade)—embedded into the print during layer pauses (set pause at layer 20 in your slicer, drop magnets in, resume). Or use VELCRO® ONE-WRAP® sewn into your undersuit—quiet, secure, and invisible.
And always, always test wear before con day. Walk up stairs. Sit down. Raise your arms. Does your jetpack dig into your ribs? Does your sword hilt catch on your cloak? Fix it now—not in the con bathroom at 3 p.m. with duct tape and existential dread.
You’re Not Building Props. You’re Building Confidence.
Every time you hold up a piece you designed, printed, sanded, and painted—every time a stranger asks, “How did you make that?”—you’re not just showing off craftsmanship. You’re proving something deeper: that imagination, paired with patience and a little plastic, can become real.
So fire up Blender. Order that Ender. Sand until your fingertips hum. Paint like your favorite character is watching.
Then walk into that con—not as a fan.
As a creator.
The armor fits. The prop clicks. The crowd leans in.
And you? You smile—knowing exactly how many layers, how many hours, how many quiet victories got you right there.