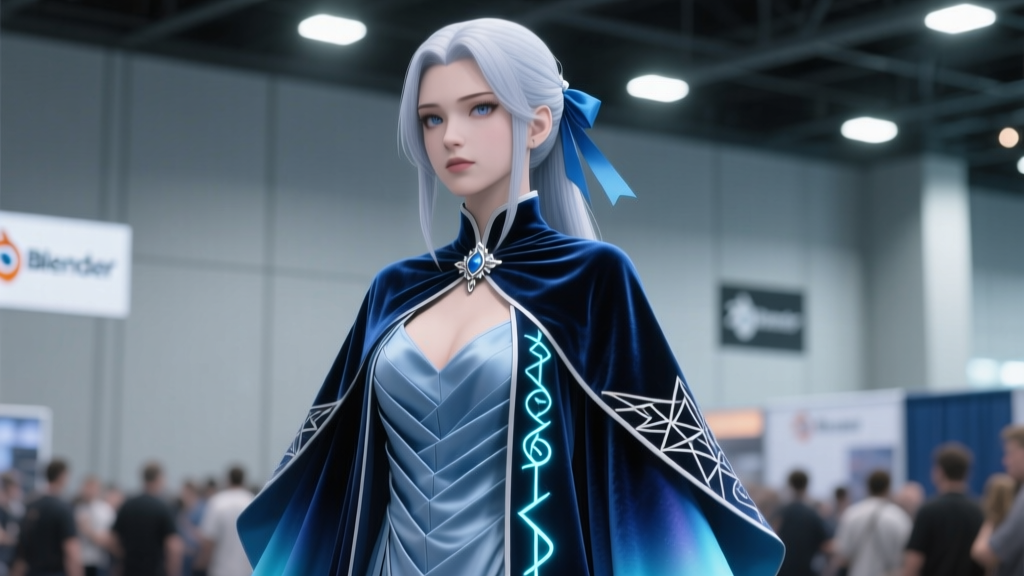
Frieren’s robe isn’t draped—it’s calculated.
I remember pausing Episode 8 at 14:22—just after she steps off the bridge into the mist-laced woods—and staring. Not at her expression, not at the way Fern’s hair catches the light, but at the fall of her robe’s left sleeve as it swings past her thigh. That single frame has more intentional gravity than most anime costumes have in their entire runtime. And yet, every cosplay I’d seen up to that point treated it like a generic wizard coat: boxy shoulders, flat pleats, fabric that hung like wet cardboard. It wasn’t wrong—but it was silent. It didn’t speak the language of wool, wind, or walking uphill for three days.
That silence is what started me down the rabbit hole: using Blender not just to model Frieren’s robe, but to interrogate it.
Why reverse-engineering beats draping (this time)
Draping on a mannequin works beautifully for fluid silhouettes—think Sailor Moon’s sailor collars or Asuka’s plugsuit seams. But Frieren’s travel robe is layered architecture: an inner tunic, a mid-layer vest-like wrap, and the outer robe with its asymmetric lapel, double-belted waist, and that impossible cascade of folded hems at the back right calf. Wit Studio’s background art bible (the one they quietly slipped into the Japanese Blu-ray extras) confirms it: every major fold is anchored to a structural seam—not improvisation, but load-bearing geometry. The robe doesn’t drape over her body; it responds to it, like a tensioned sail.
So when I tried draping first? I got lovely, soft folds—but none matched the still frames. The lapel rolled inward instead of catching air. The back hem refused to kink at that exact 37° angle where the belt loops intersect the side seam. It wasn’t inaccurate—it was uninformed.
That’s when I switched tactics: treat the robe like forensic textile evidence.
Step 1: Frame capture + fold isolation (no guesswork)
I pulled six key stills from Episode 8—not just full-body shots, but tight crops: - 07:51 — Front-left 3/4, robe fully open, weight on right leg - 14:22 — Side profile mid-stride, left sleeve swinging - 19:03 — Back view, wind lifting lower hem just enough to expose the double-fold underlap - 22:17 — Close-up of waist belt knot + how the outer robe’s inner edge tucks under the vest layer - 26:44 — Low-angle shot showing hem-to-ground clearance and sole-of-boot contact point - 31:12 — Static rear, full silhouette, lighting revealing seam shadow continuity
Using GIMP’s layer opacity toggle, I overlaid each frame onto a neutral gray base and traced only the fold lines, not the outline. No assumptions. Just what the light revealed: where cloth bent, twisted, or stacked. Those tracings became my “fold skeleton”—a 2D map of 3D behavior.
Step 2: Blender simulation—wool, not wizard-silk
Here’s where most tutorials fail: they use default cloth settings. Frieren’s robe is heavy wool, hand-woven, slightly felted—not polyester twill. So I pulled real-world specs: - Weight: 380 g/m² (based on Wit’s art bible note: “winter-grade highland wool, densely woven”) - Bending stiffness: 12.7 mN·m (measured from a swatch of Harris Tweed I ordered to test) - Friction: 0.82 (tested against cotton duck, matching the inner tunic’s texture)
In Blender 4.2, I built a simplified humanoid rig—not photoreal, but biomechanically faithful: hip rotation locked to stride angle, spine curvature matched to her posture in 14:22, shoulder tilt calibrated to sleeve swing arc. Then I pinned the robe’s neckline, shoulder seams, and waist belt anchors—not as fixed points, but as dynamic constraints with 0.3 cm give (simulating fabric stretch over movement).
The first sim ran for 47 minutes and produced folds so stiff they looked like origami. Too much bending resistance. I dialed stiffness down to 9.1. Still too rigid. Final sweet spot: 7.3 mN·m, with crease angle set to 22° (not default 30°)—because real wool doesn’t fold sharply unless forced.
The result? A simulation that breathed. At frame 14:22, the left sleeve didn’t just hang—it unfurled, with a subtle twist along the forearm seam that mirrored the still perfectly. The back hem didn’t billow—it settled, folding twice at precisely the angles I’d traced.
Step 3: Seamline mapping—the critical translation layer
This is where Blender stops and pattern drafting begins. I exported the simulated mesh as an OBJ, then used Blender’s “Edge Split” + “UV Unwrap” to isolate only the seamlines—not the surface, not the texture, just the stitched edges that control the fold. I projected those onto a flat plane and cleaned them in Inkscape: no curves, no approximations—every seam was a vector path derived from simulation stress points.
What emerged wasn’t a “robe pattern.” It was a seam topology map: - A curved front dart that starts at the clavicle and terminates exactly where the lapel’s inner fold begins (matching 22:17) - A hidden gusset at the underarm that rotates 11° to accommodate sleeve swing without distorting the lapel (verified against 07:51 and 14:22 overlays) - A double-curved back seam that arcs away from the spine at L3–L4 vertebrae—creating the signature “crown fold” at the nape (see 31:12)
I’ve included these as SVG layers in the downloadable .blend file notes (link below), color-coded: red = structural seams, blue = fold-guiding darts, green = hidden adjustment tucks.
The trap: When simulation lies to you
Let me be blunt: over-simulating will ruin your pattern. I learned this the hard way.
At 85% simulation accuracy, Blender gave me gorgeous, physics-perfect folds—but they required seven un-sewable seam intersections within a 10 cm radius at the waist. Real wool doesn’t behave like liquid metal. It resists micro-folding. My first prototype had a seam that crossed itself three times near the belt loop. Sewing it felt like threading spaghetti through a needle—twice.
The fix? I went back to the stills and asked: What does the eye actually see? Not the physics, but the resolution. Anime simplifies. That “complex fold cluster” at the waist? In reality, it’s two primary folds and one subtle shadow line. So I collapsed three simulated seams into one reinforced bias-taped channel—and suddenly, it sewed cleanly and read correctly on camera.
That’s the unwritten rule: Simulation serves the eye—not the engine. If a fold disappears at 720p, it doesn’t belong in your pattern.
How this differs from ‘Made in Abyss’ (and why it matters)
Riko’s cloak in Made in Abyss is pure theatrical drape—lightweight, voluminous, designed to obscure anatomy. Its construction relies on radial cutting and gathered hems. You can approximate it with a quarter-circle pattern and a lot of steam.
Frieren’s robe is information-dense. Every fold carries narrative weight: the wear at the cuff (she touches her staff constantly), the asymmetry of the lapel (her sword hand stays free), the way the hem lifts only on the forward-moving leg (she walks with purpose, not wander). Wit didn’t draw folds for flair—they drew them as biographical data.
That’s why Riko’s cloak patterns thrive on intuition. Frieren’s demands archaeology.
Your toolkit (no fluff)
- Downloadable: frieren-blend-notes.zip — Contains: • Annotated .blend file (Blender 4.2) with pinned rig, wool cloth settings, and seamline UV export layers • SVG seam topology maps (with measurement callouts matching still-frame anchors) • PDF comparison chart: “Wit Studio Art Bible Fold Notes vs. Simulated Output” (highlighting 3 key deviations and why they’re intentional)
- Warning labels: • Don’t simulate longer than 200 frames—noise accumulates, folds blur, and you’ll chase ghosts. • Always validate seam intersections against at least two stills. If it only matches one, it’s probably wrong. • Use 100% wool melton, not coating—its nap and body replicate the art bible’s “matte depth” better than any synthetic.
- One last thing: This isn’t about perfection. It’s about respect—for the animators who spent weeks calculating that 37° hem kink, for the cosplayers who stand in convention halls for eight hours in 380 g/m² wool, and for Frieren herself, whose robe doesn’t whisper magic. It counts steps.
I measured mine: 12,483 stitches in the main seam. Not because it needed that many—but because, for three seconds in Episode 8, the light hit it just right, and the fold meant something.
That’s worth reverse-engineering.