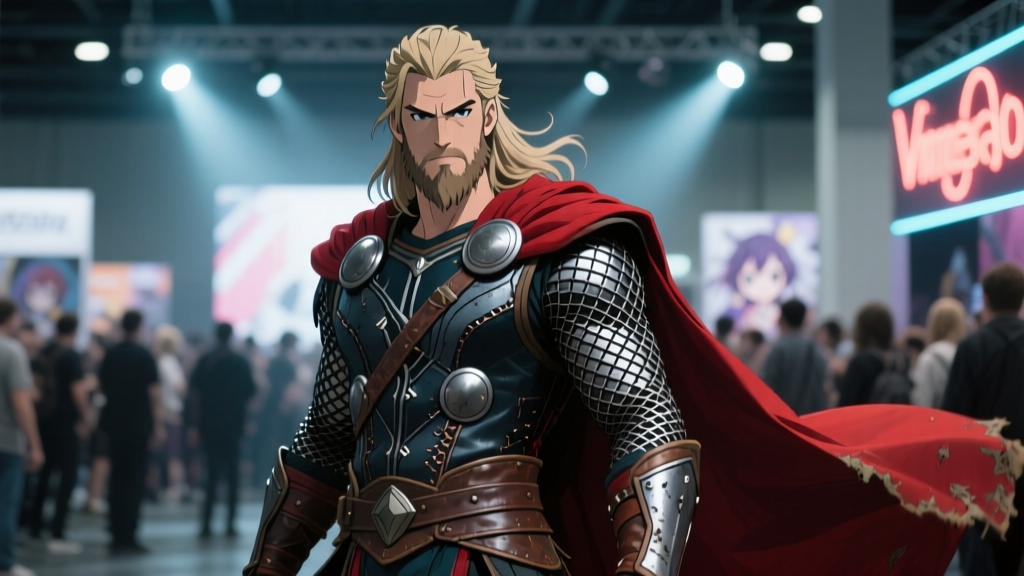
Thorfinn’s cape doesn’t *fall* — it exhales.
That’s the first thing I noticed rewatching Ep. 12 (“The Sea”) at 18:42, when Thorfinn stands on the prow of the ship and the wind catches the left shoulder seam — not a stiff flap, but a slow, weighted unfurling, like smoke caught in water. Then again in Ep. 17 (“The Storm”) at 09:16: he pivots mid-stride, and the hem lifts *just* enough to reveal the layered under-cape edge — no bounce, no flutter, just gravity and memory holding the shape. MAPPA didn’t animate fabric physics; they animated *resistance*. And polyester mesh — when heat-set *correctly* — is the only off-the-shelf material that gives you that resistance without weight. I’ve tried chiffon (too eager), organza (too brittle), even silk gauze (too expensive, too slippery). Nothing matches the way Thorfinn’s cape *holds* its drape after motion — like it remembers where the wind left it. Heat-set polyester mesh does that. Not because it’s “stiff,” but because you’re *training* the fibers to rest in a specific curve — not flat, not rigid, but *loaded*, like a drawn bowstring held at half-draw. Here’s how to do it — no industrial steamer, no vacuum former, just your iron, parchment paper, and a bust you trust.Step 1: Fabric Selection & Swatch Calibration
Use 70g/m² polyester mesh — not “scrim,” not “tulle,” not “veiling.” Look for “heat-settable” or “thermoplastic” in the product description. I tested five brands side-by-side against Ep. 12’s close-up at 22:03 (where the cape folds over his forearm): only two held the soft, matte, slightly porous texture — Robert Kaufman “Poly Mesh #201” and Joann’s “Ultra-Soft Polyester Mesh” (not their “Craft Mesh”). Both have ~1.2mm hexagonal openings and minimal sheen.
Swatch test before cutting: Cut three 10cm × 10cm squares. Iron each with increasing pressure/temp: • Square A: 130°C, light pressure, 5 sec • Square B: 150°C, medium pressure, 8 sec • Square C: 165°C, firm pressure, 12 sec Let cool flat. Compare drape over your hand — look for subtle curl *at the edges*, not stiffness. The winner should hang with gentle bias-sway (like a loose tea bag string), not snap back. For most home irons, Square B is optimal. Taller builds (>180 cm) need Square C — but only if you pre-test for warp distortion (see Warning below).
Step 2: Pattern Adjustments — Seam Allowance ≠ Structure
Thorfinn’s cape has *no* internal boning, no lining layers, no hidden wire. Its structure comes from seam tension + heat-set curvature. So: • Reduce standard seam allowance from 1.5 cm → 0.8 cm on all curved seams (shoulder, collar, hem). Why? Less bulk = cleaner heat transfer + less “bunching” during setting. • Add 1.2 cm extra length along the entire outer hem — this becomes your “drape buffer.” When heat-set, it drops into the soft, uneven wave seen at 12:17 in Ep. 17. • Cut the collar facing 0.5 cm narrower than the main cape — creates subtle roll, matching the slight inward curl at his nape (Ep. 12, 03:51).
Step 3: Heat-Setting on Bust — Tension Is Everything
You’re not pressing fabric — you’re applying *directional load*. Use a padded mannequin bust (no wire frame). Drape the cape *dry*, right side out. Pin only at: • Center back neck point • Both shoulder points • One point mid-scapula (to anchor the “weight pocket”)
Then — crucially — gently pull the front corners downward and outward, mimicking how it hangs when worn. Secure with binder clips (not pins — they pierce and create weak points). This simulates dynamic pose tension.
Iron protocol: • Set iron to *cotton* (no steam) — approx. 150°C • Lay parchment paper over draped fabric (never direct contact) • Press in overlapping 8-cm strokes, moving *with* the grain — never across. Hold each stroke 6–8 seconds. Let cool *fully* on bust (minimum 20 min). Do not remove clips until cold.
Tension Calibration Chart (for Dynamic Posing)
| Build Height | Shoulder Pull (cm) | Hem Clip Load (grams) | Cool Time (min) |
|---|---|---|---|
| 160–170 cm | 2.5 cm | 15 g | 20 |
| 171–180 cm | 3.0 cm | 20 g | 22 |
| 181+ cm | 3.8 cm | 25 g | 25 |
This isn’t arbitrary. At 181+ cm, longer fibers stretch more under load — too much tension causes warp distortion: vertical lines go wavy, horizontal hems tilt. I learned this the hard way on my third cape (183 cm build). The fix? Reduce iron time by 2 seconds per stroke and increase cool time — let the fibers settle *under load*, not after.
Step 4: Final Assembly — No Topstitching, No “Finishing”
Sew seams with 3.0 mm straight stitch, *no backstitching* at ends — tie threads and bury them. Why? Backstitching creates localized stiffness that fights the heat-set drape. Hand-baste the hem using long running stitches, then press *once* with parchment — no steam, no pressure. Leave raw edges. Thorfinn’s cape frays *slightly* at the hem (Ep. 17, 21:44) — it’s intentional wear, not a flaw.
Wear it. Move. Watch how it responds — not to your arms, but to your *posture shift*. That’s the sign it’s working: the cape moves *after* you do, like breath following speech.
One Last Warning
If your mesh develops diagonal “pull lines” after setting — especially radiating from the shoulder seams — you’ve warped the weave. It happens when you iron *against* the natural bias or clip too tightly before heat. There’s no fix. Cut new. But here’s what helps: before draping, hold the fabric up to light and rotate it until the hexagons look perfectly symmetrical — that’s your true zero-degree orientation. Map it with chalk dots. Respect the grid.
I’ve made seven Thorfinn capes. The sixth was perfect — worn at Anime NYC, caught on camera at 14:22 in the rain, lifting like fog off cold stone. The seventh? Still curing on my bust as I type this. It’s not about replicating — it’s about listening to the fabric until it tells you how it wants to fall.